Custom ISO in proxmox

steps to custom iso in proxmox
10 Oct 2024
In this article, I want to share how to custom iso in proxmox
1. Installation & Configuration
Here are the steps to custom ISO on Proxmox:
Login to Proxmox Web:
Open your web browser and access Proxmox web using the IP address or hostname of your Proxmox server. Make sure to enter the appropriate credentials to log in.
Create VM:
On the top right corner of the web, click Create VM, then enter the VM ID and VM Name to be used. Note and remember the VM ID because we will use it in the next steps.
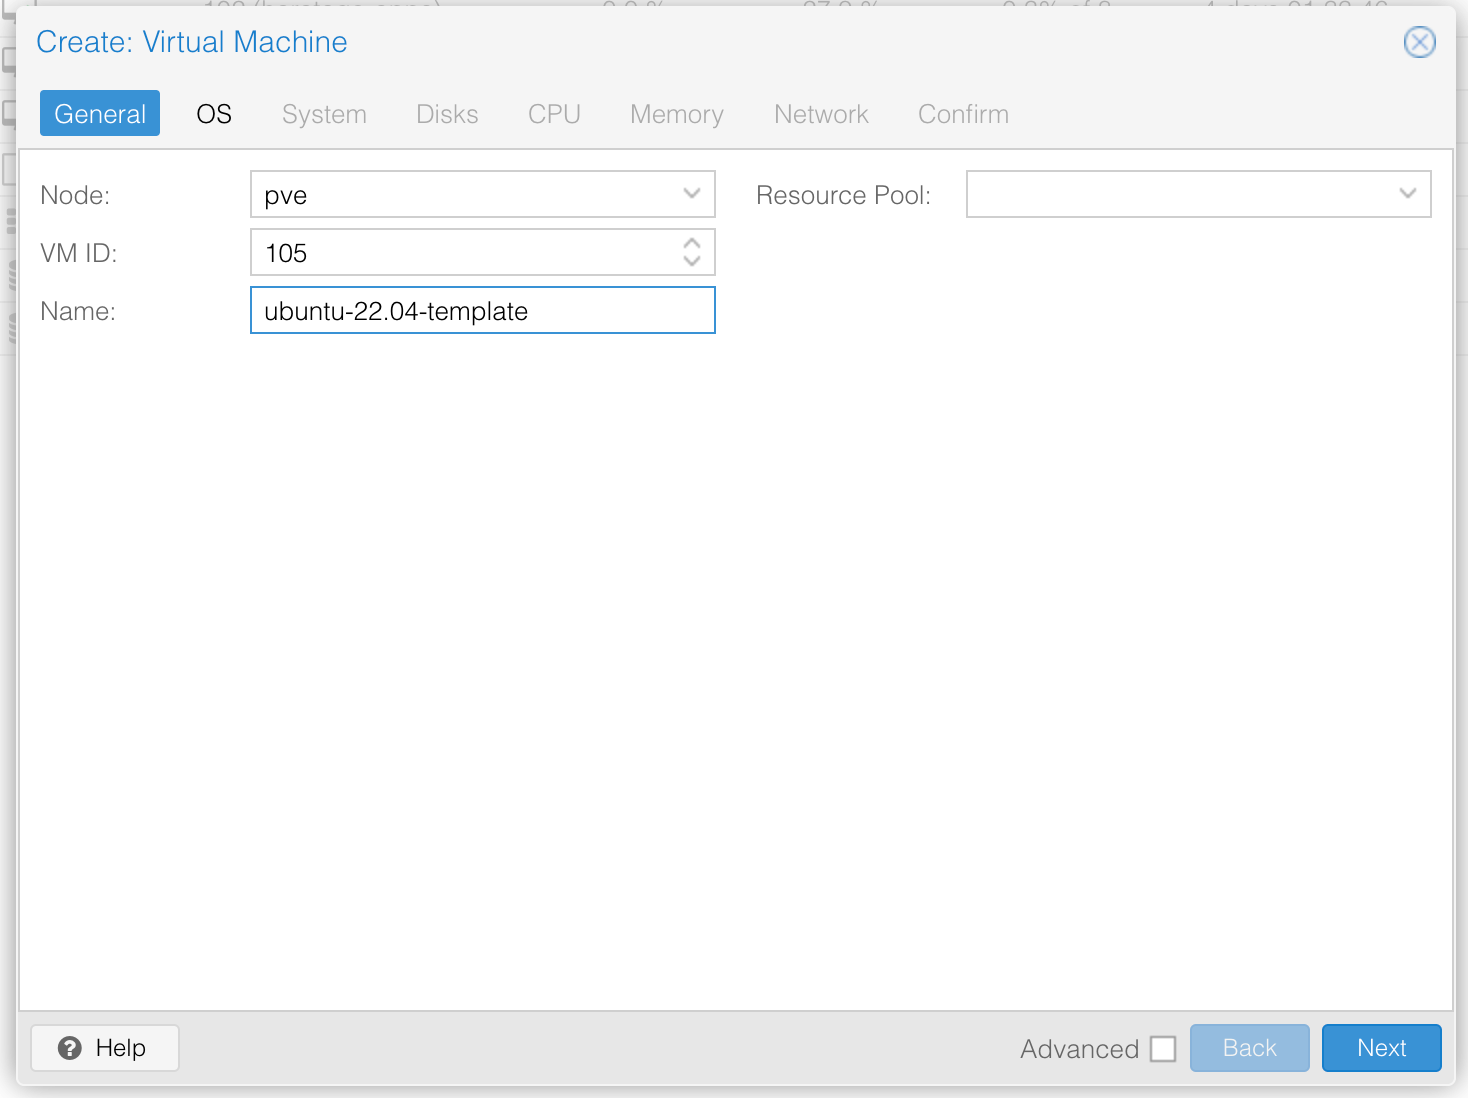
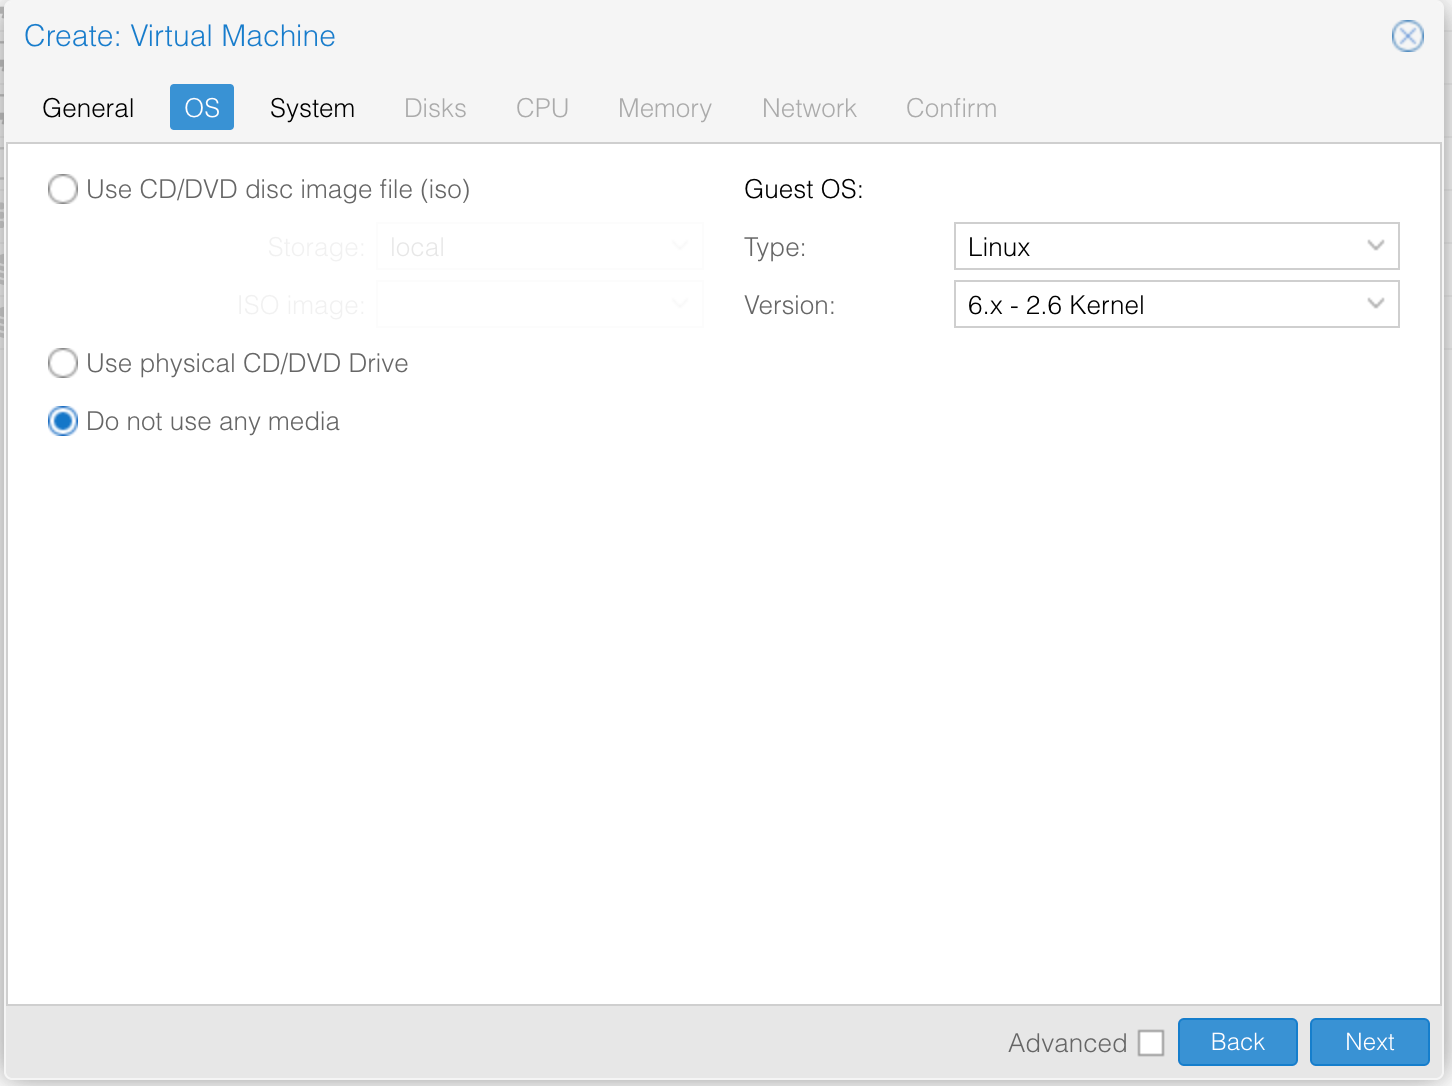
Operation System:
In the OS section, make sure you select “Do not use any media” because we will add storage later with some additional configurations.
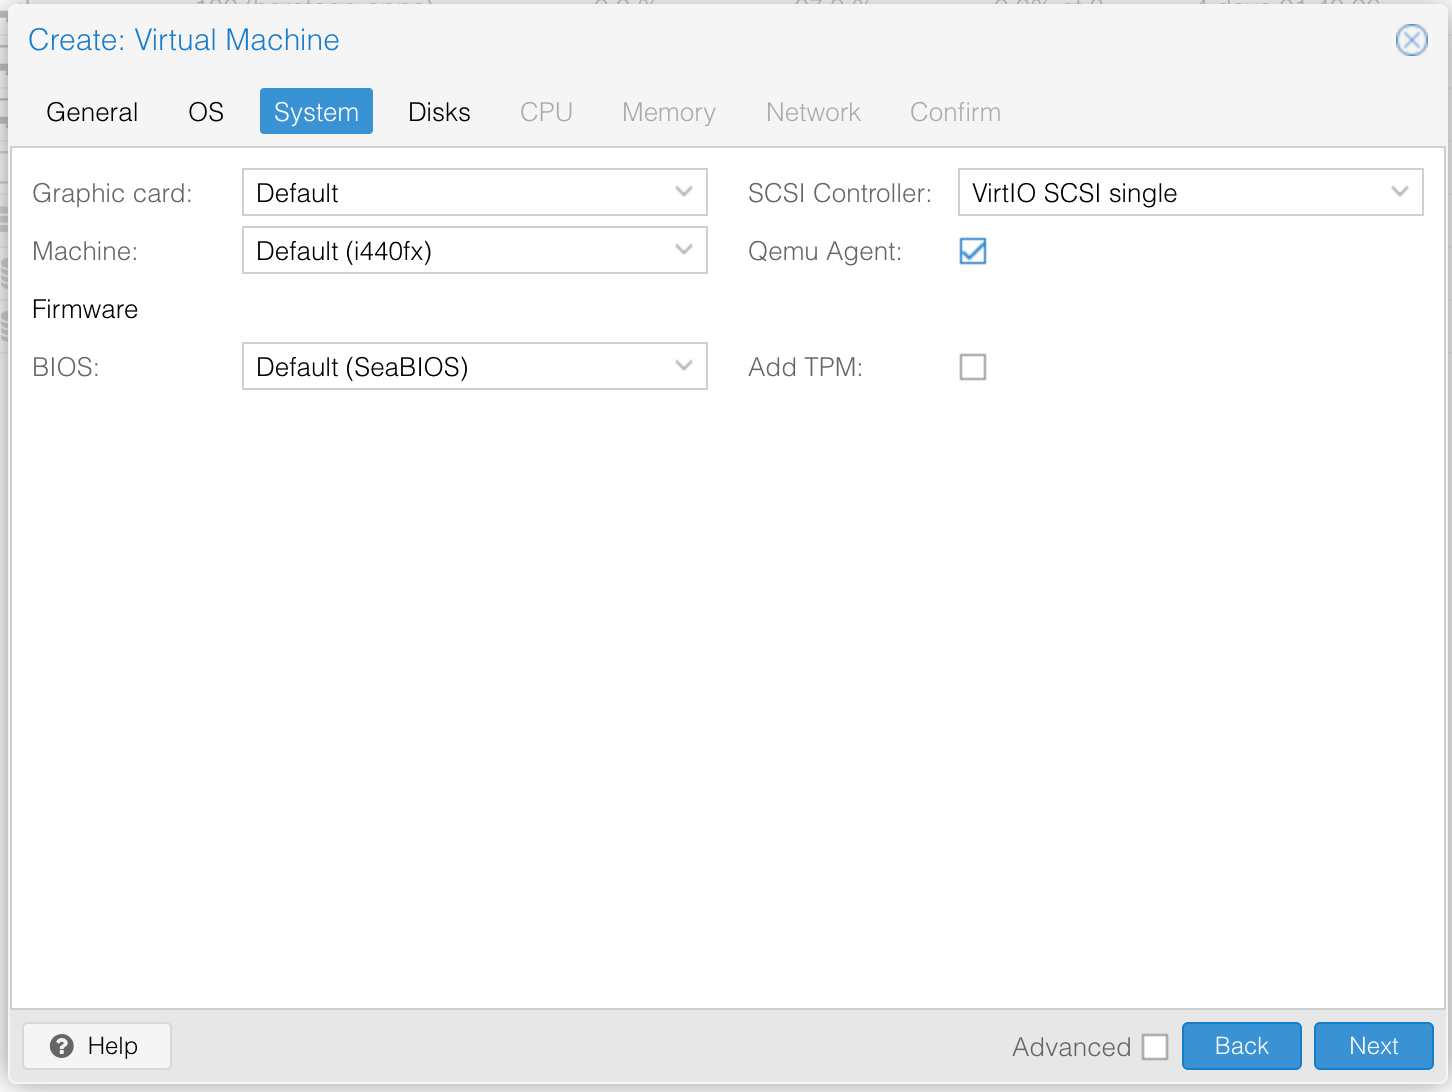
System:
In the system section leave all the default options, except the Qemu Agent section, make sure you enable it.
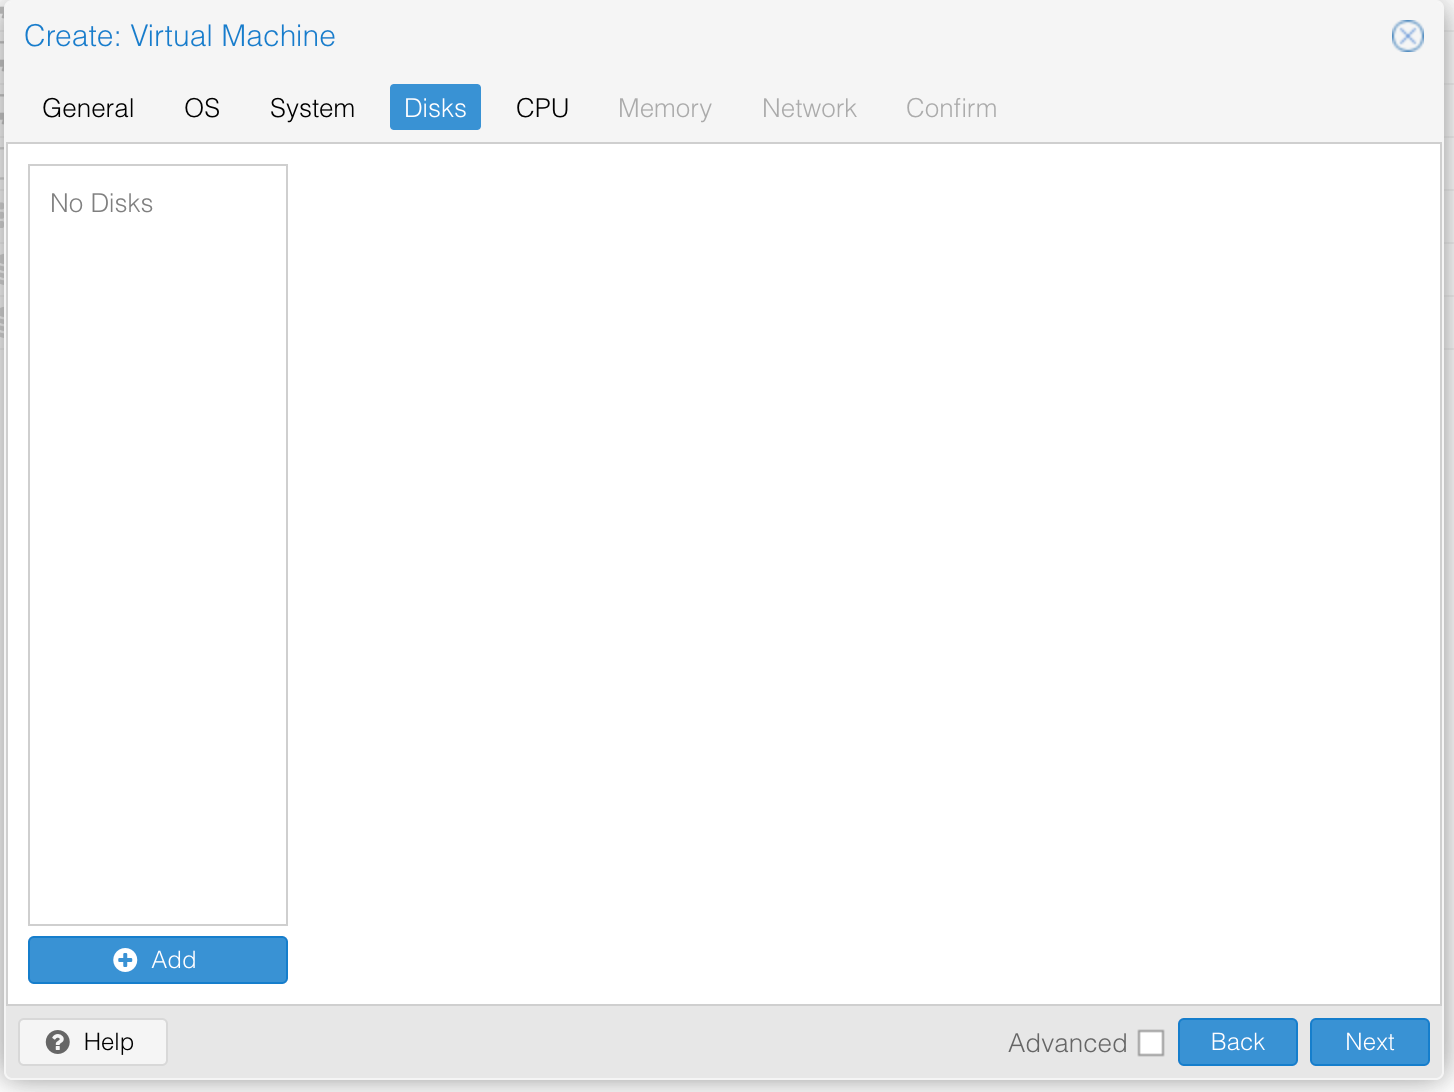
Disk:
Next in the Disk section make sure you delete it by clicking the Trash icon and proceed to the next step, don't worry because later we will add the disk separately. Next set the CPU and Memory sections according to your needs.
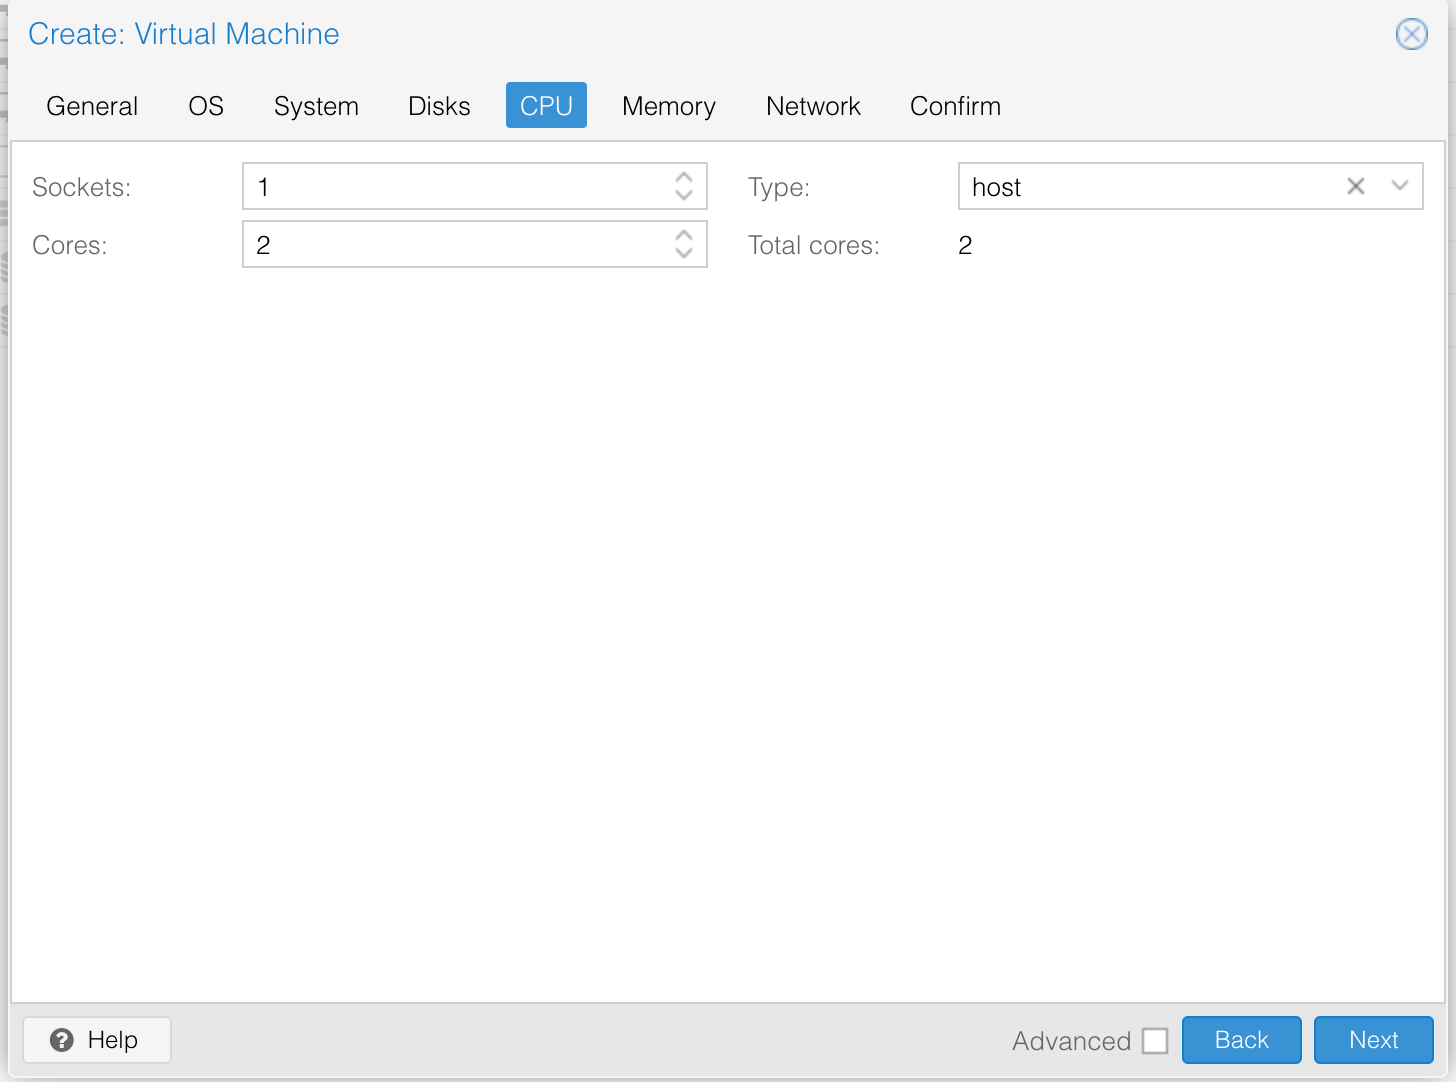
CPU:
Next in CPU, adjust the number of cores you need and select the type of processor you will use.
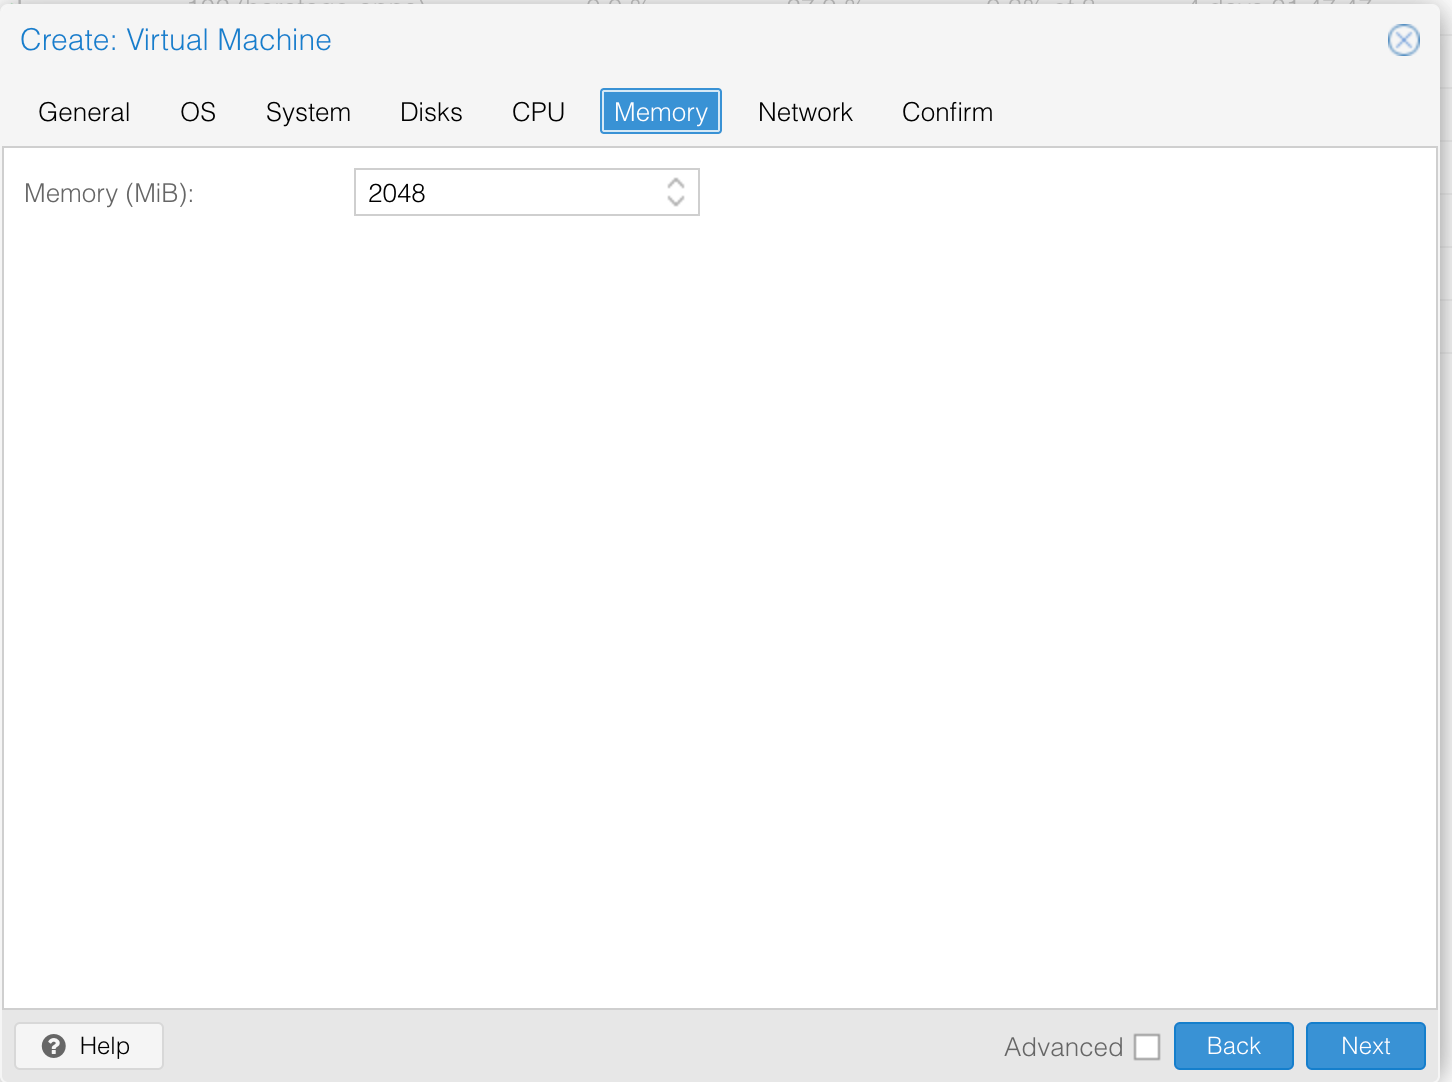
Memory:
Next in Memory, enter the amount of memory you will use.
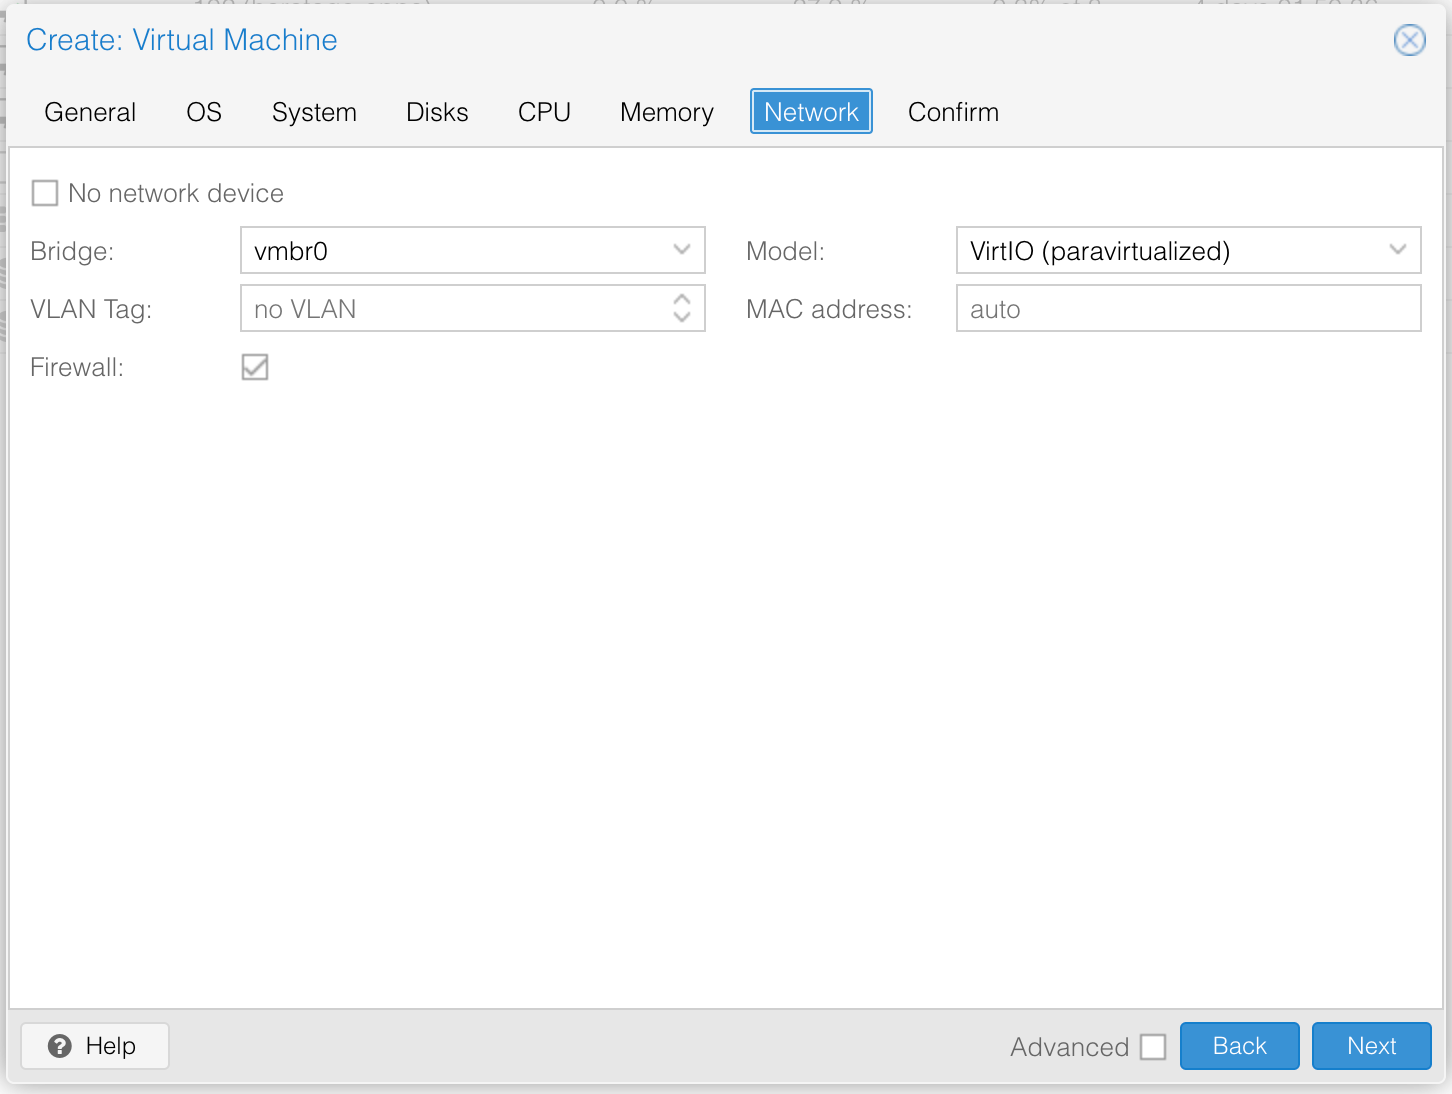
Network:
Select the network to be used according to your needs. Then next and confirm.
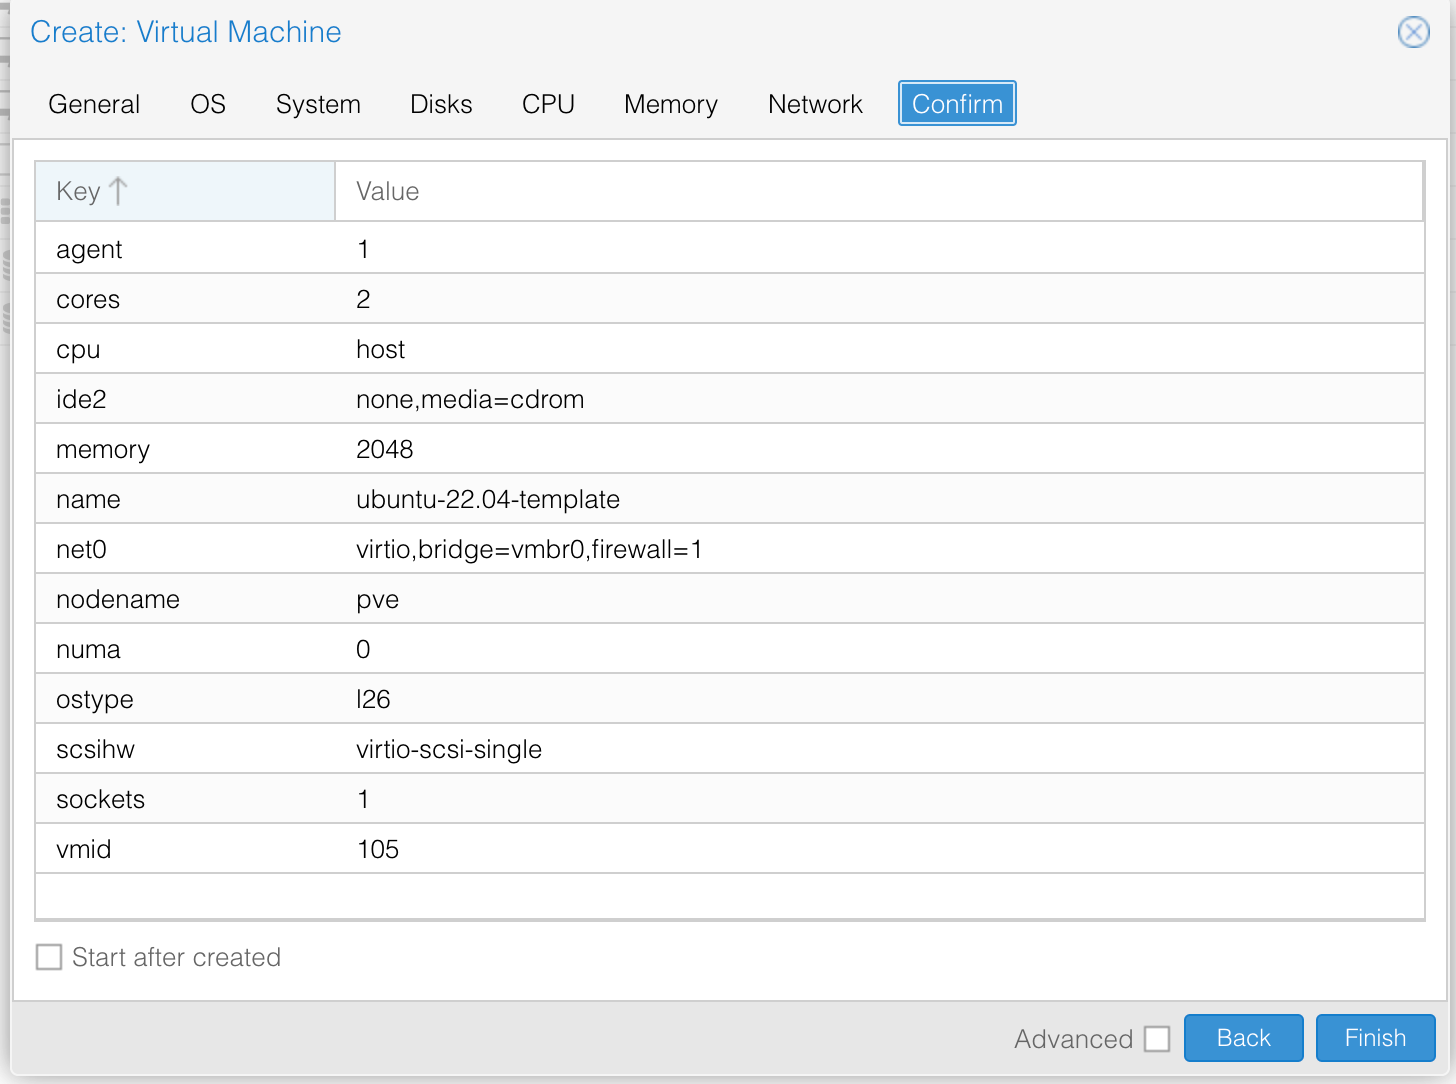
Confirm:
Make sure the VM data is correct and click the finish button
2. Download ISO File
Url file iso in Link
first steps
- select local storage (pve)
- select the ISO Images menu
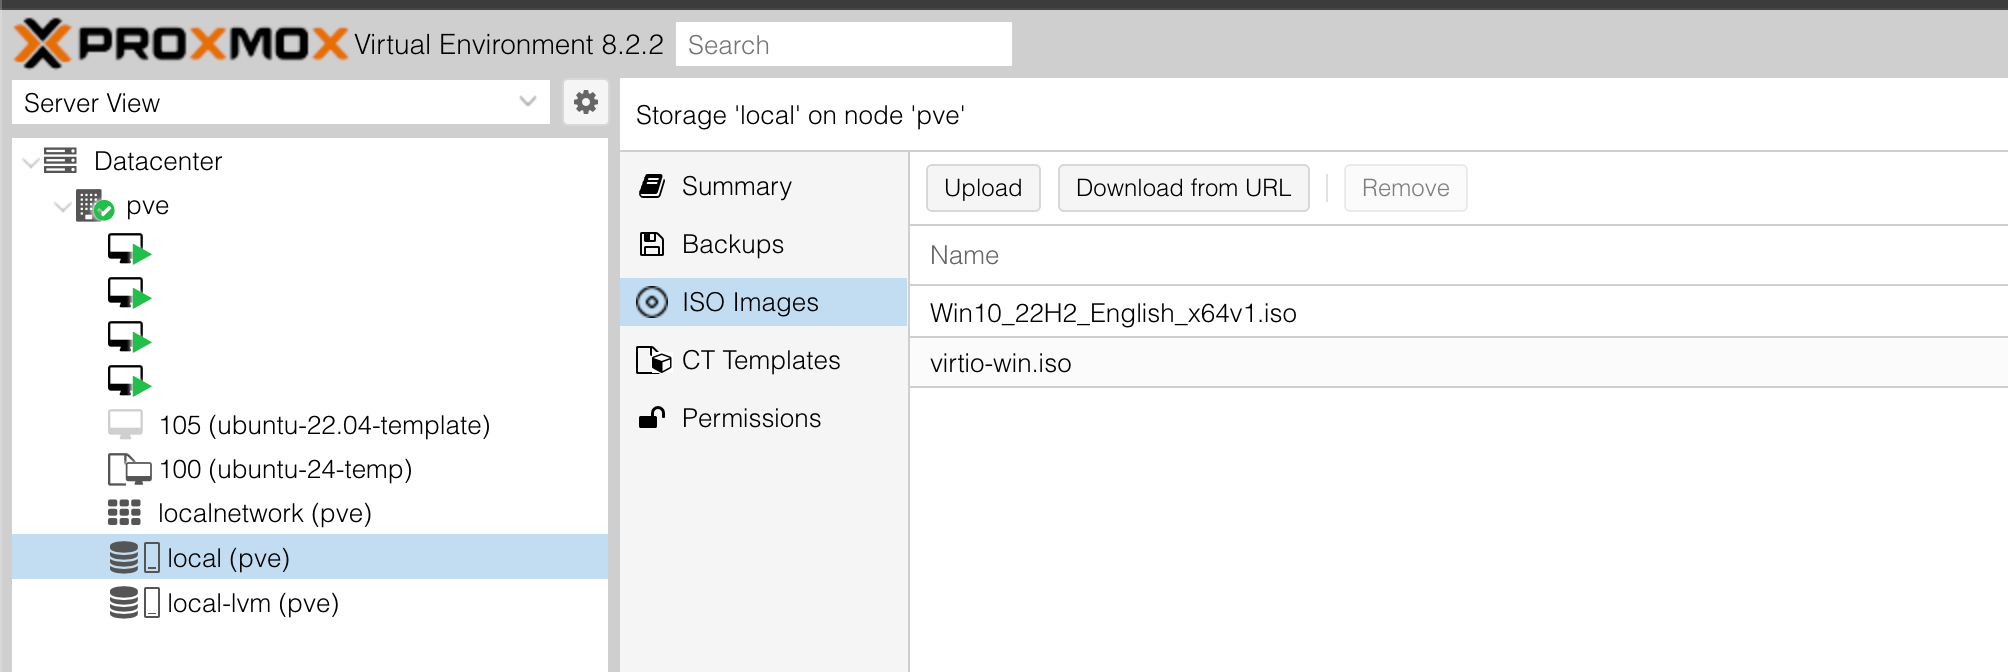
- select download from url

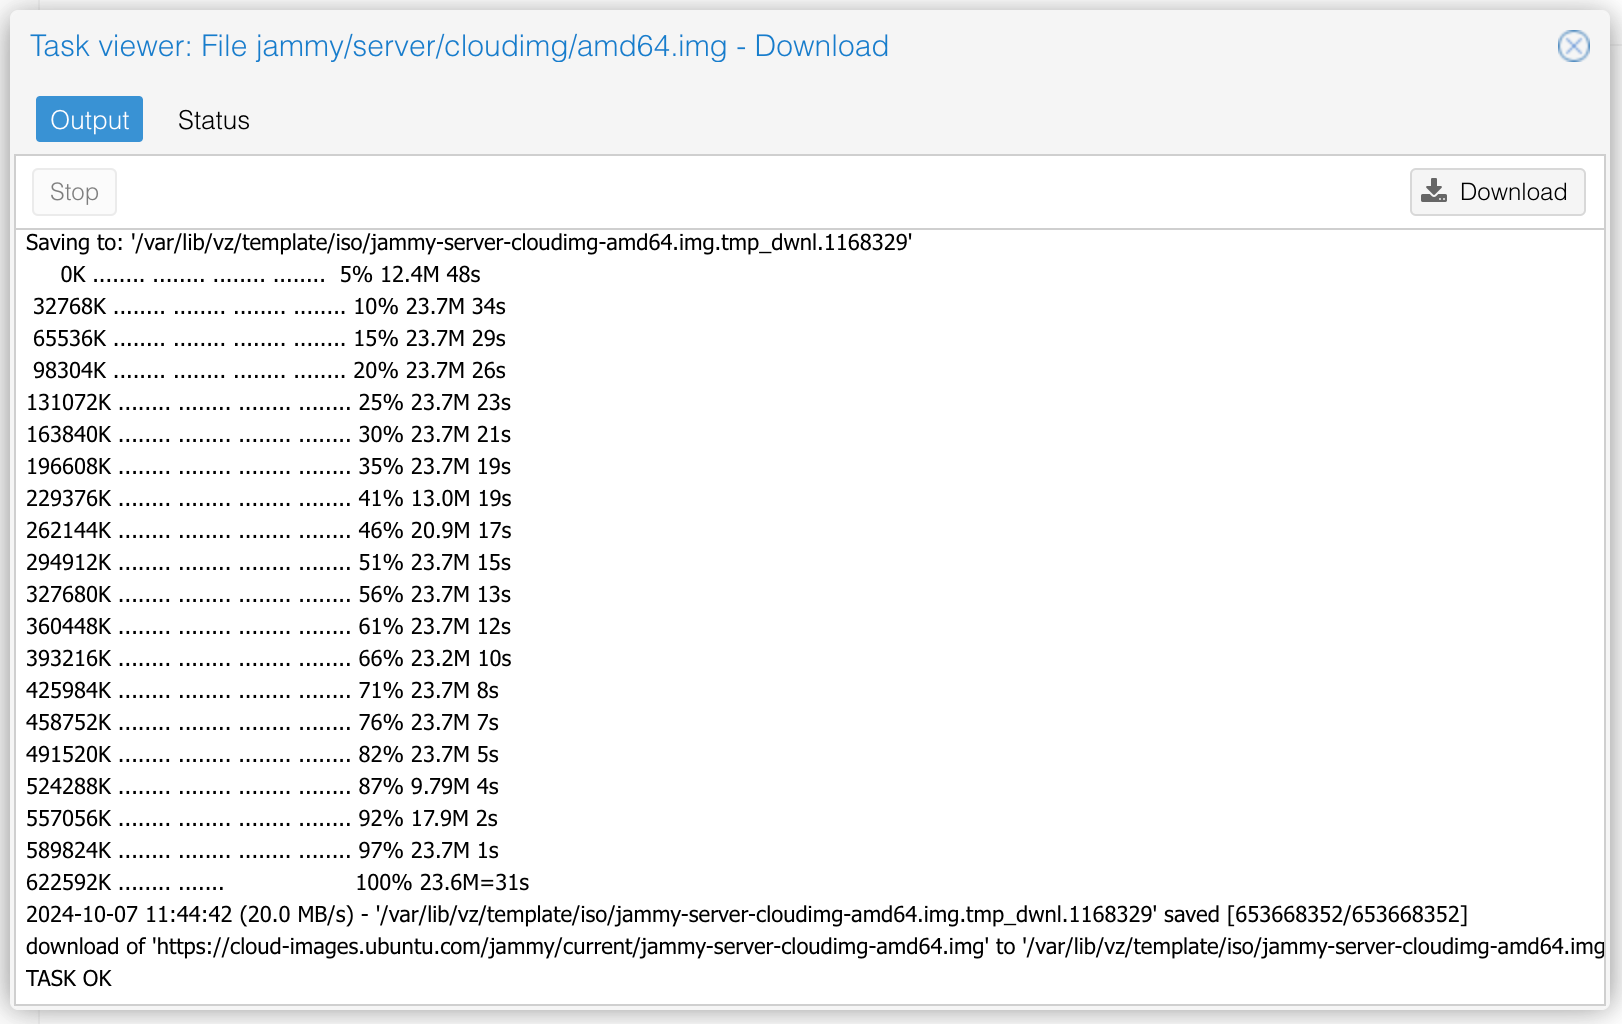
- image file successfully downloaded
3. Import file iso to vm
first step
- select pve
- select shell menu for show terminal

- to see the results of the downloaded iso via the proxmox shell

to import the iso file into vm, use the following command
qm importdisk vm_id location_iso local-lvm --format qcow2
Here is an example of its use, adjust the vm_id and the url of the iso file
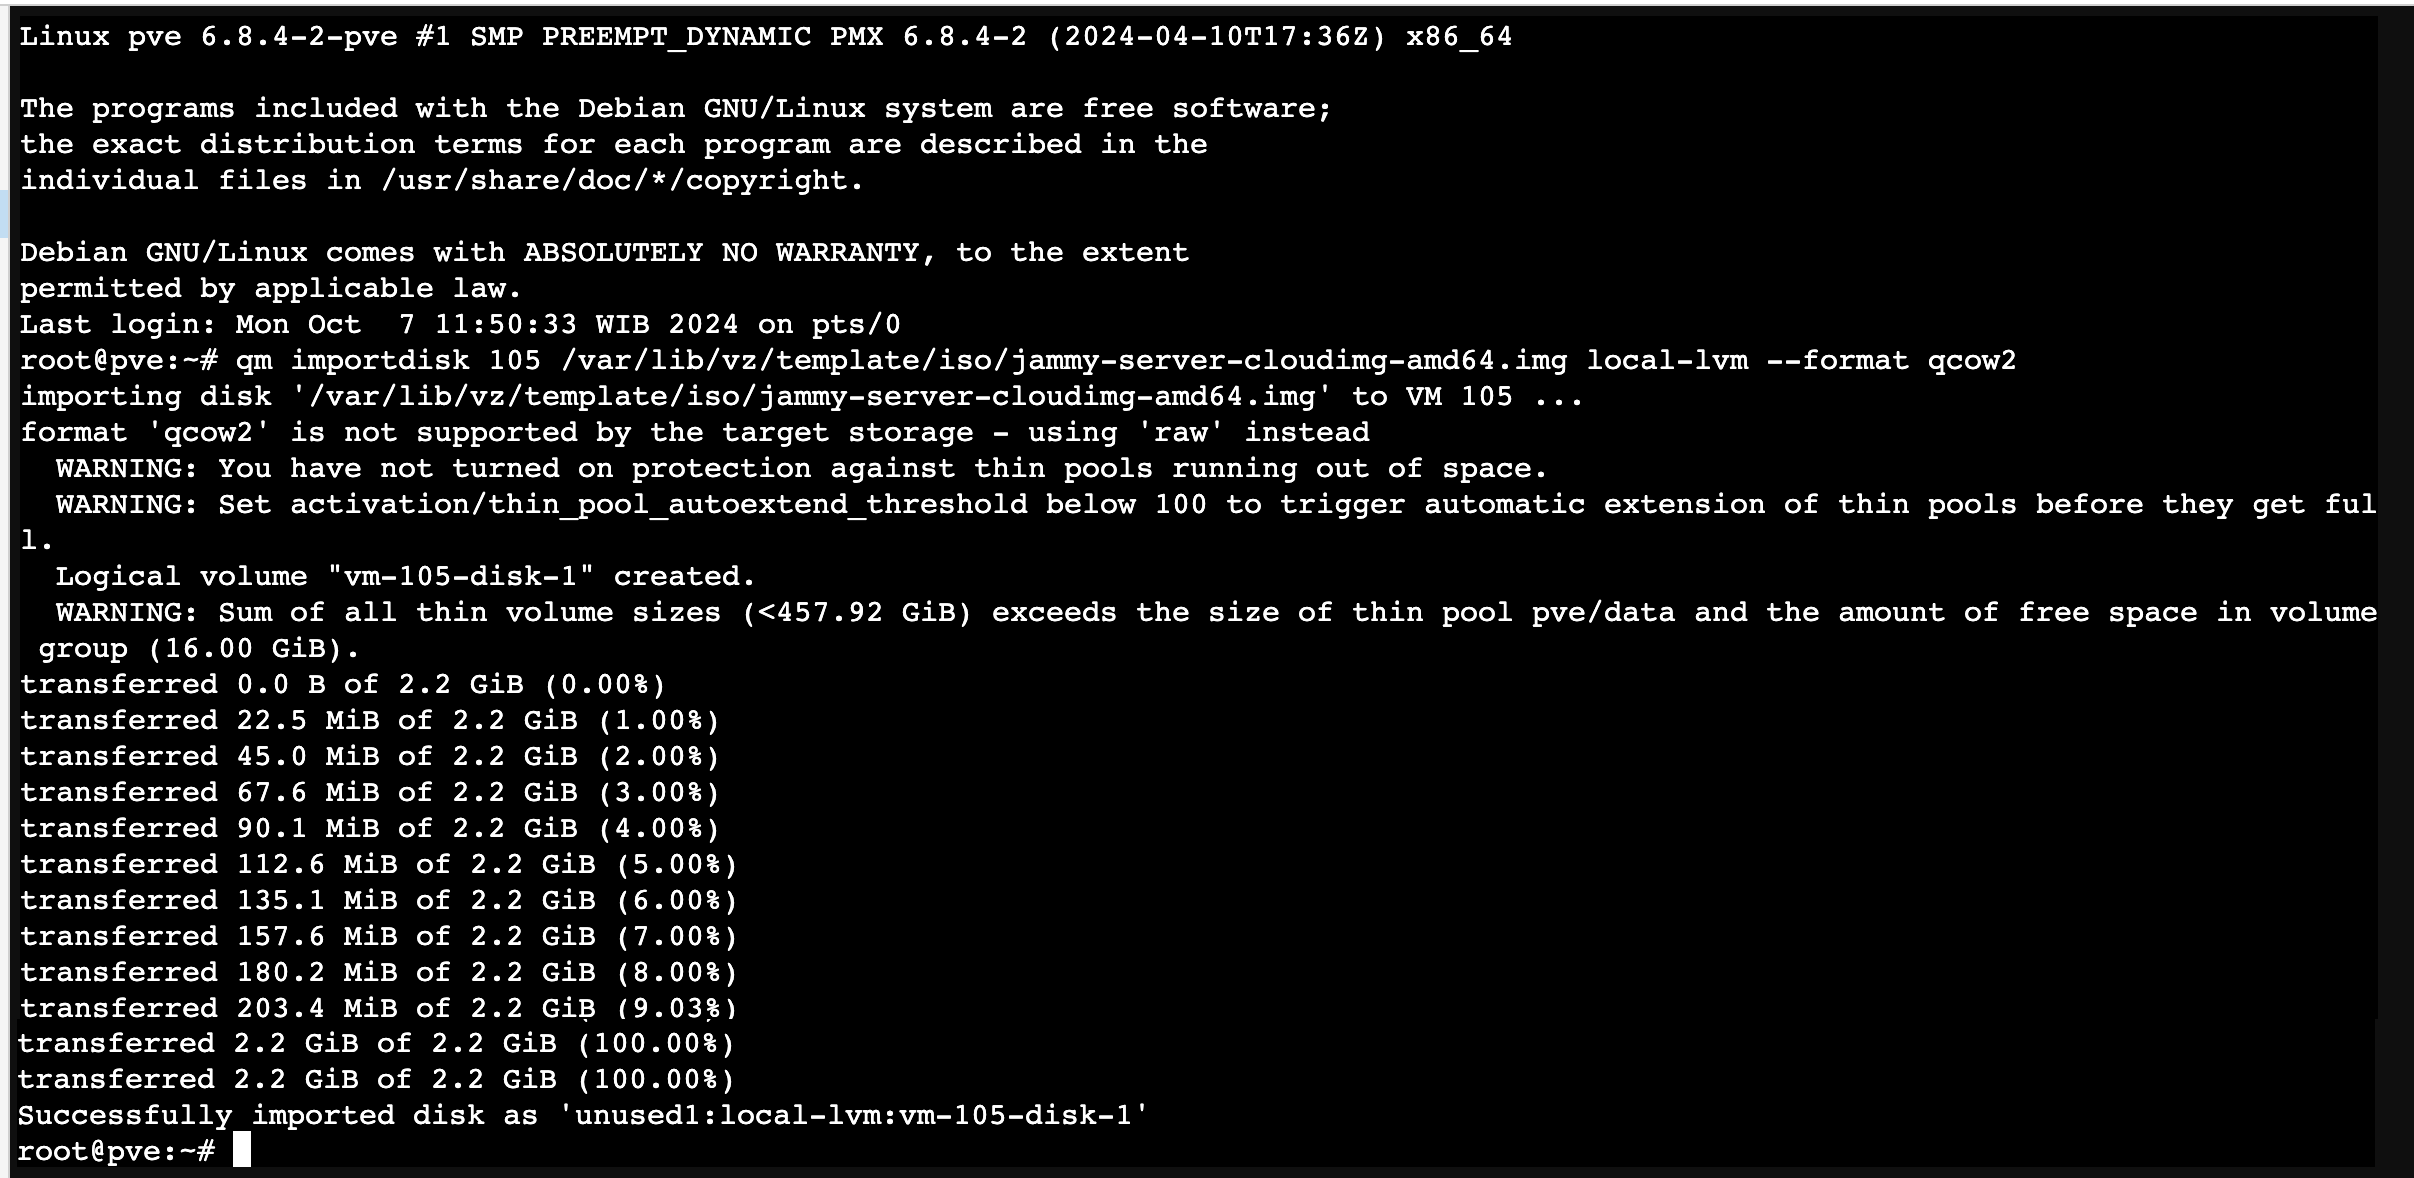
And then run this command
qm set 105 --scsihw virtio-scsi-pci --scsi0 local-lvm:vm-105-disk-1
4. How to activate a disk that has been imported into a VM
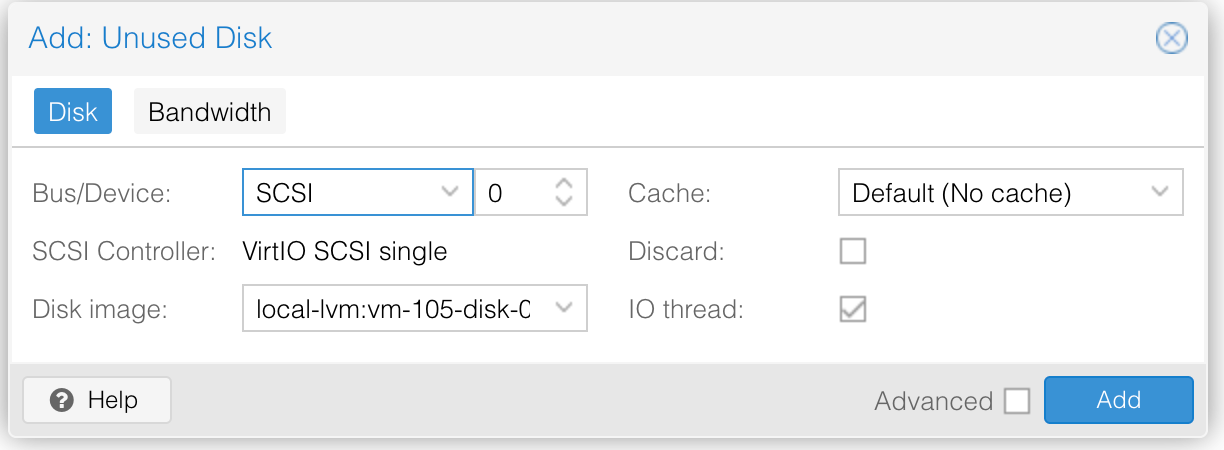
- check the imported disk
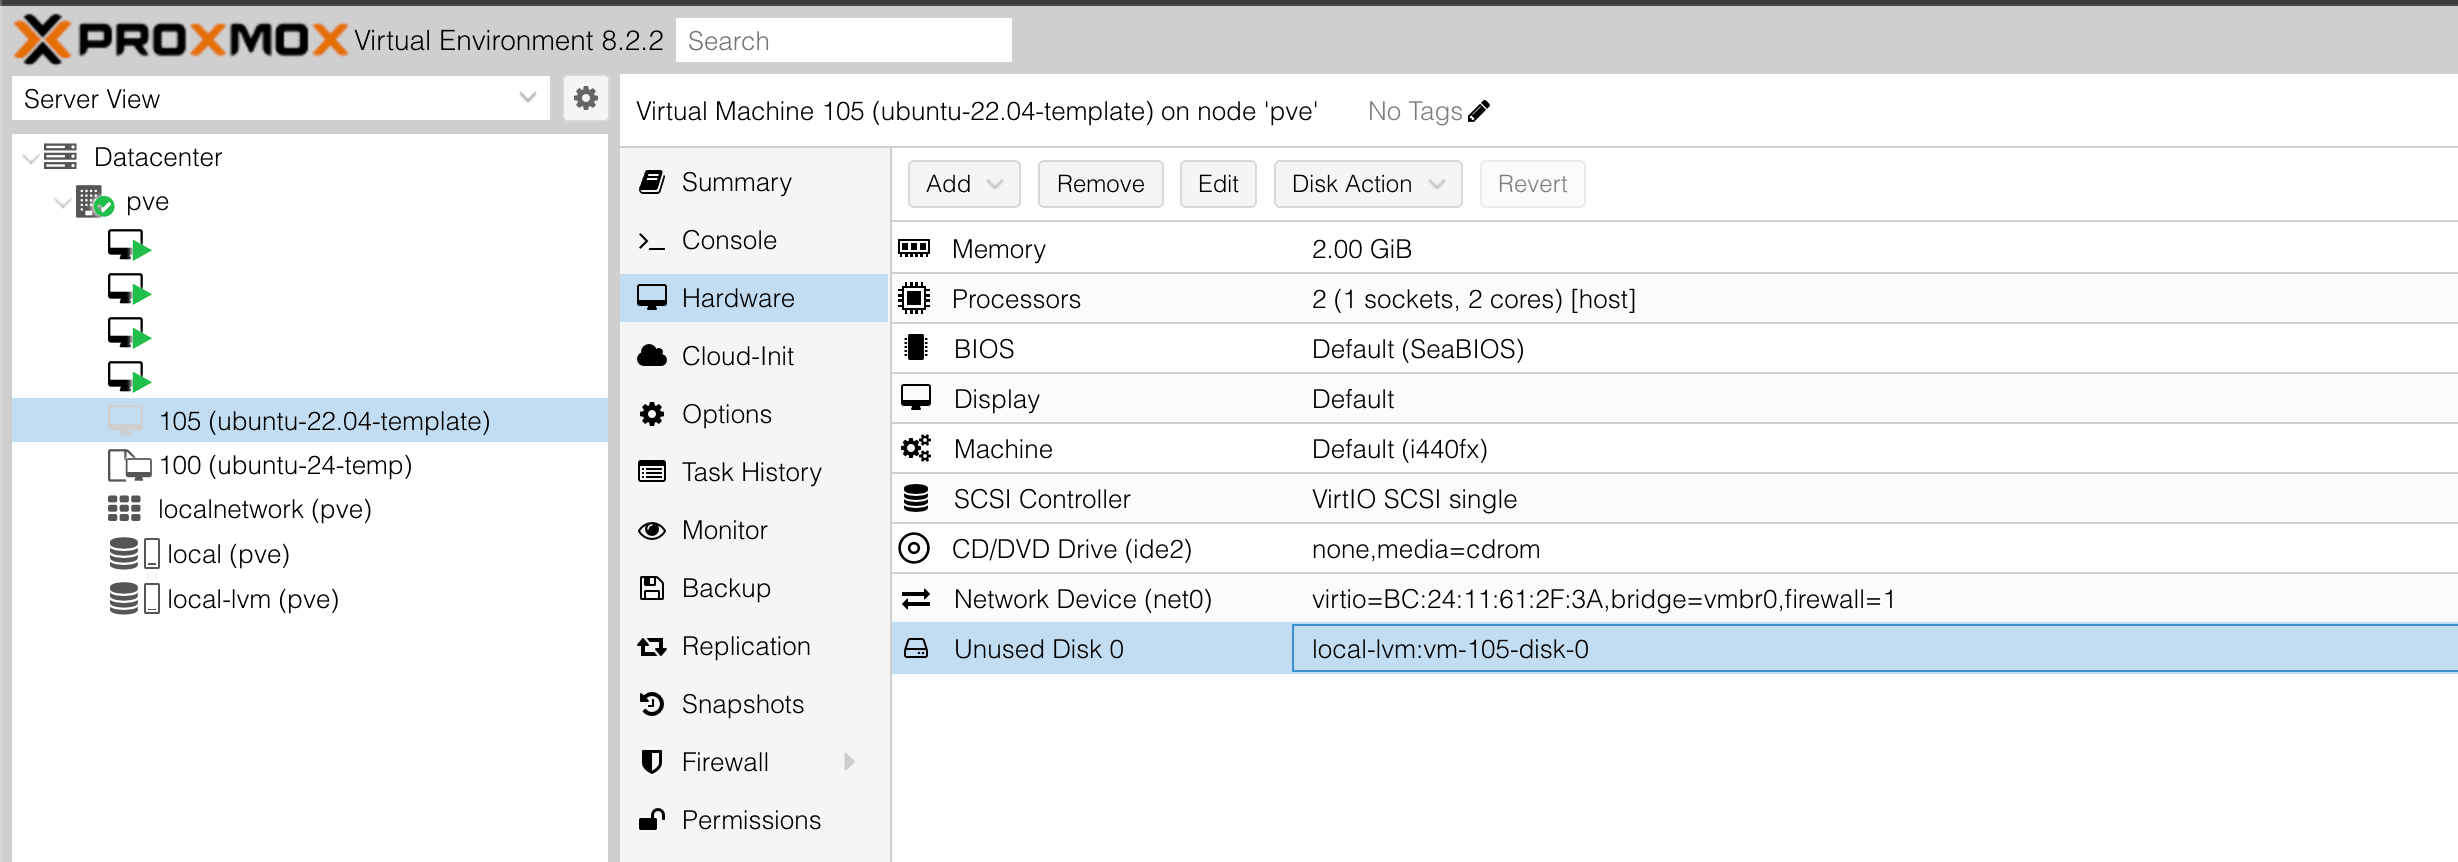
- enable disk
select disk and click add button
5. Enable boot order
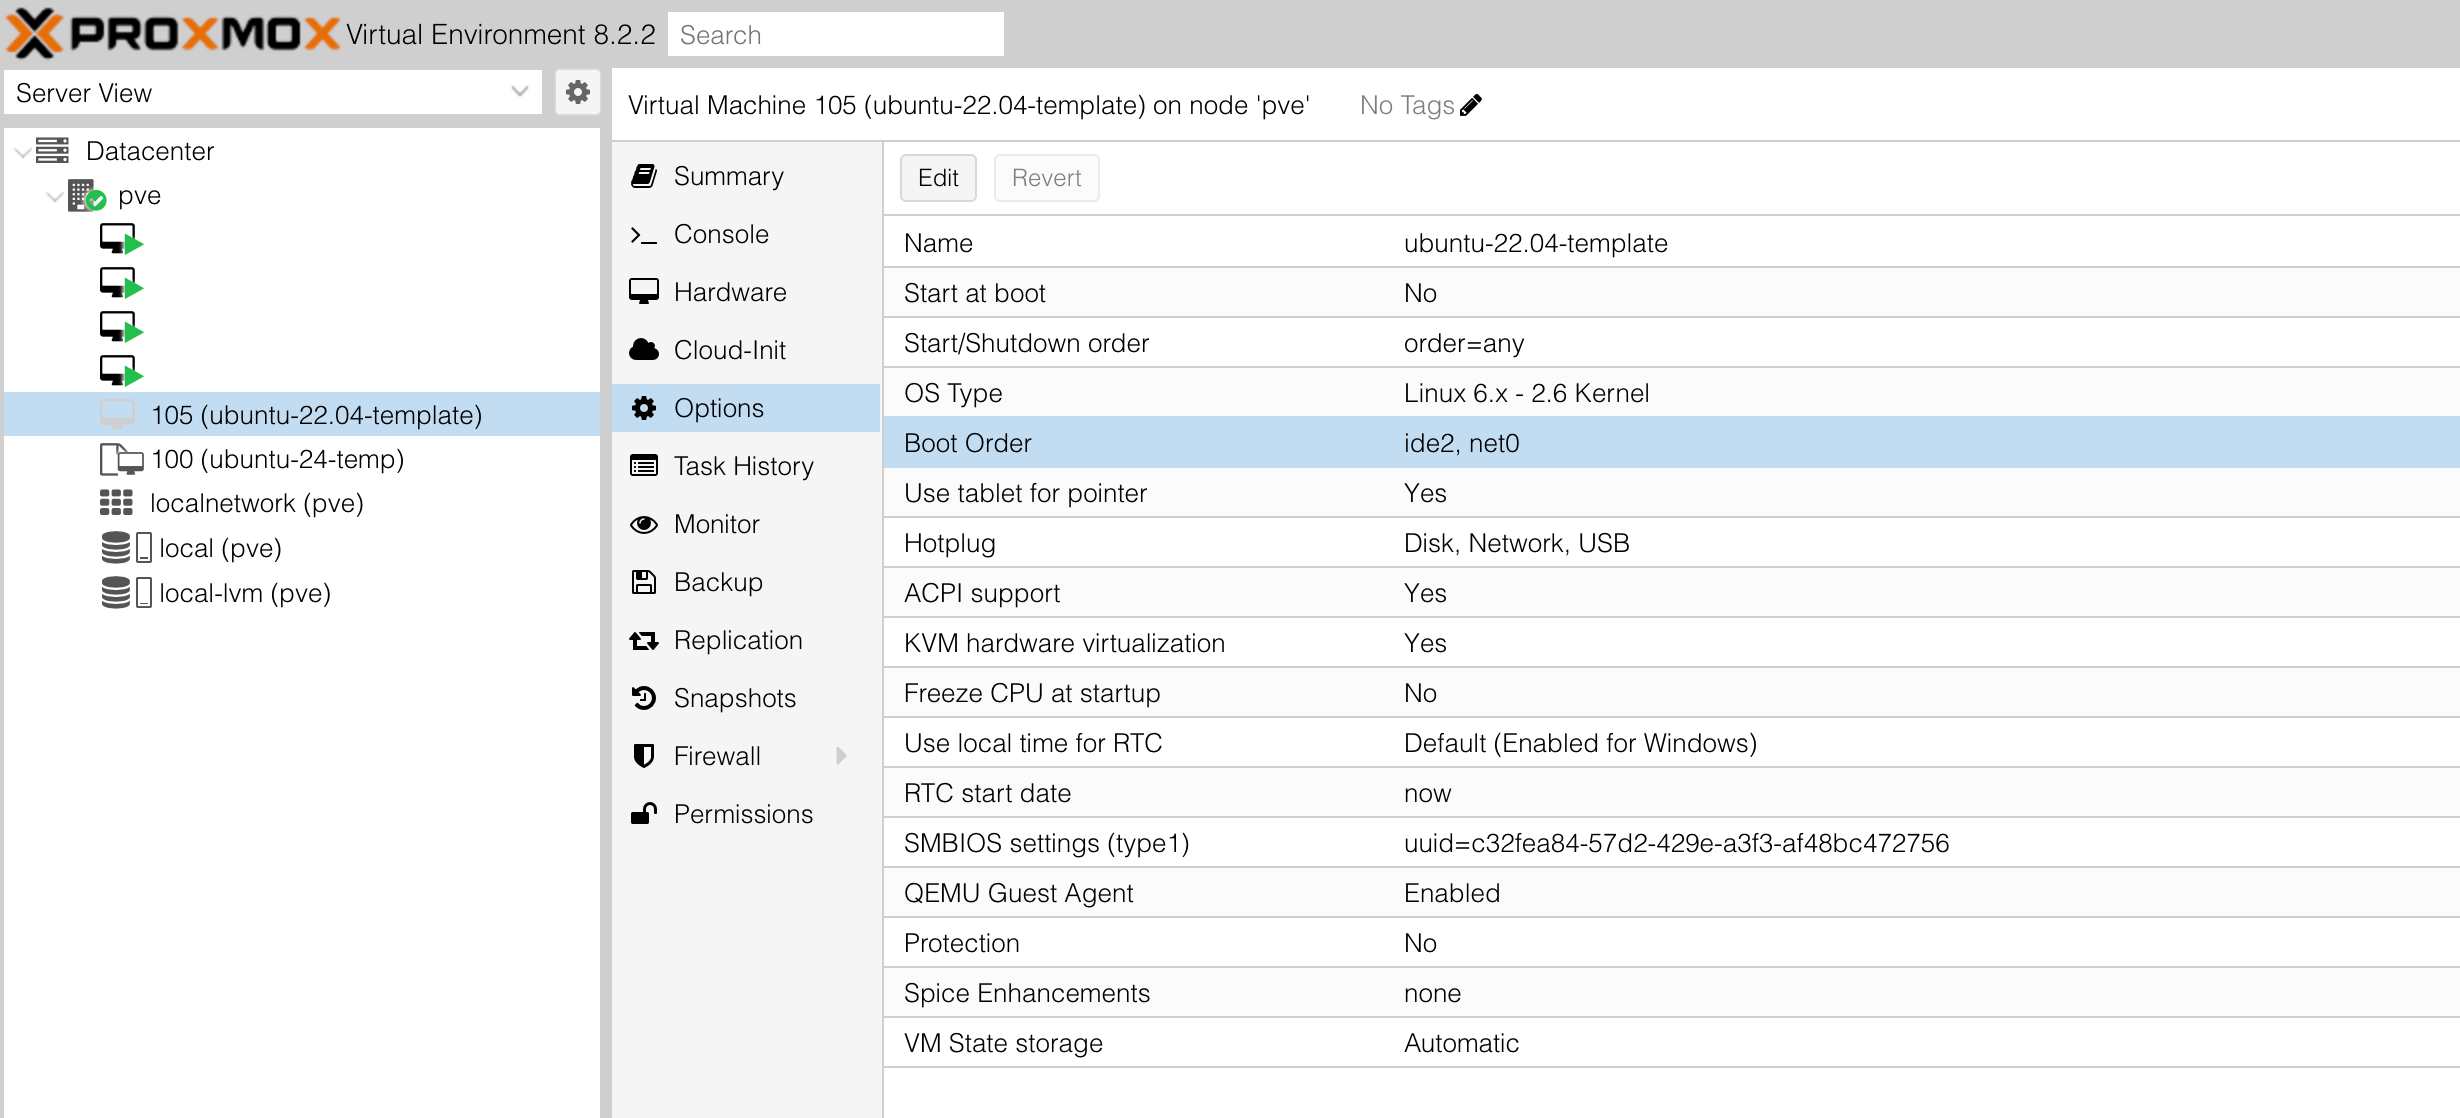
first step
- select Options
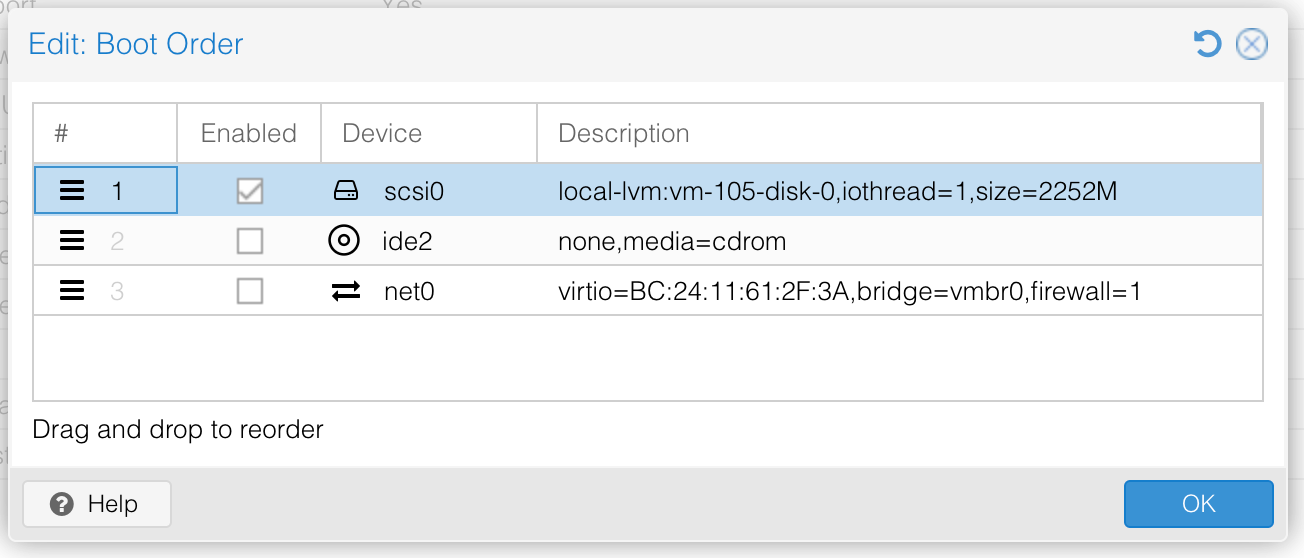
- select Boot Order
- double click and check disk like image
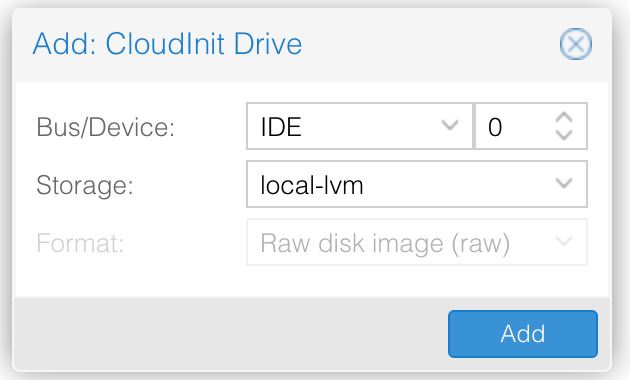
6. Add Cloudinit Driver
first step
- select hardware
- select add
- select CloudInit Drive
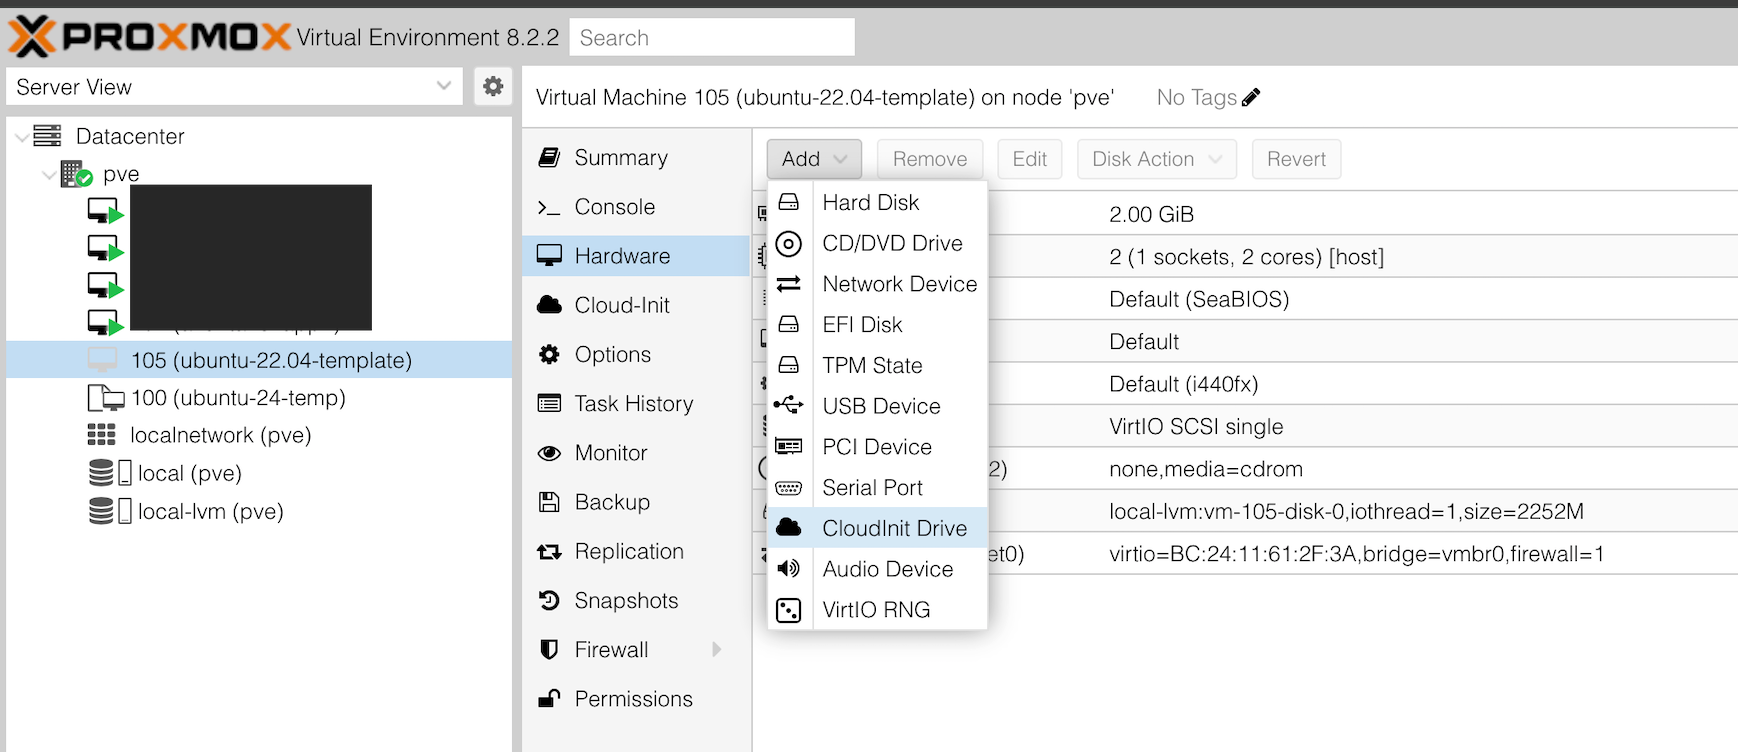
- double click and presh button add like image
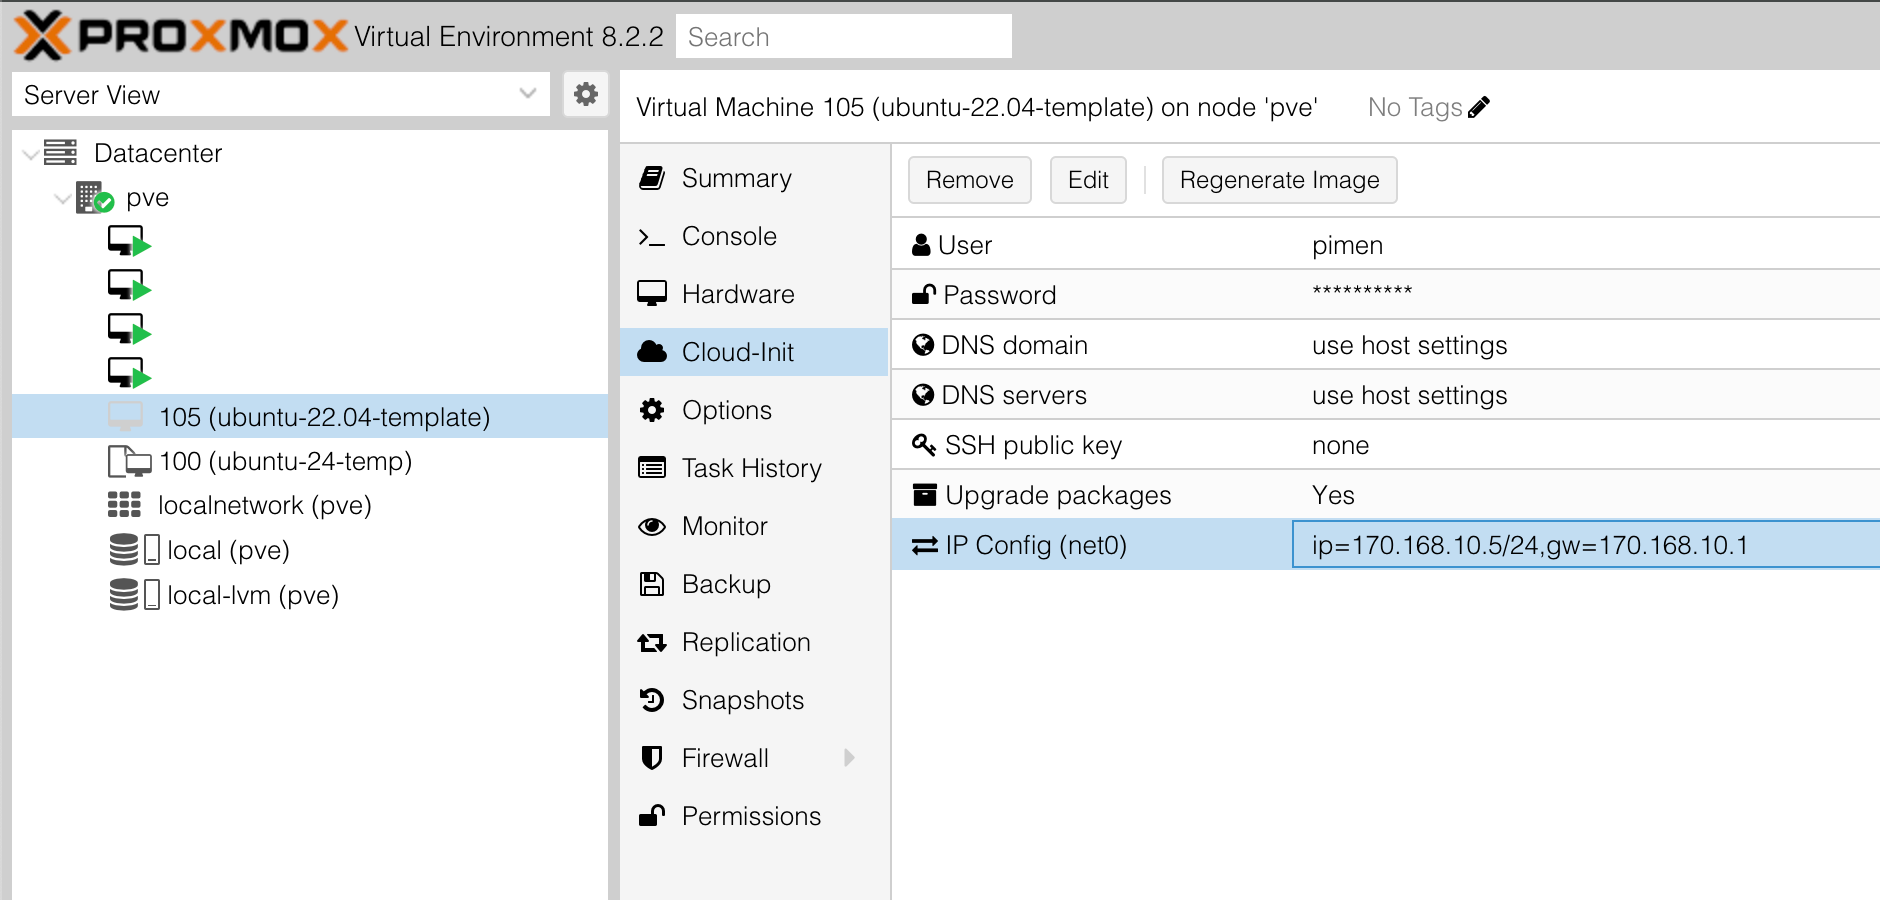
7. Config CloudInit
first step
- select Cloud-init
adjust the needs as shown in the picture
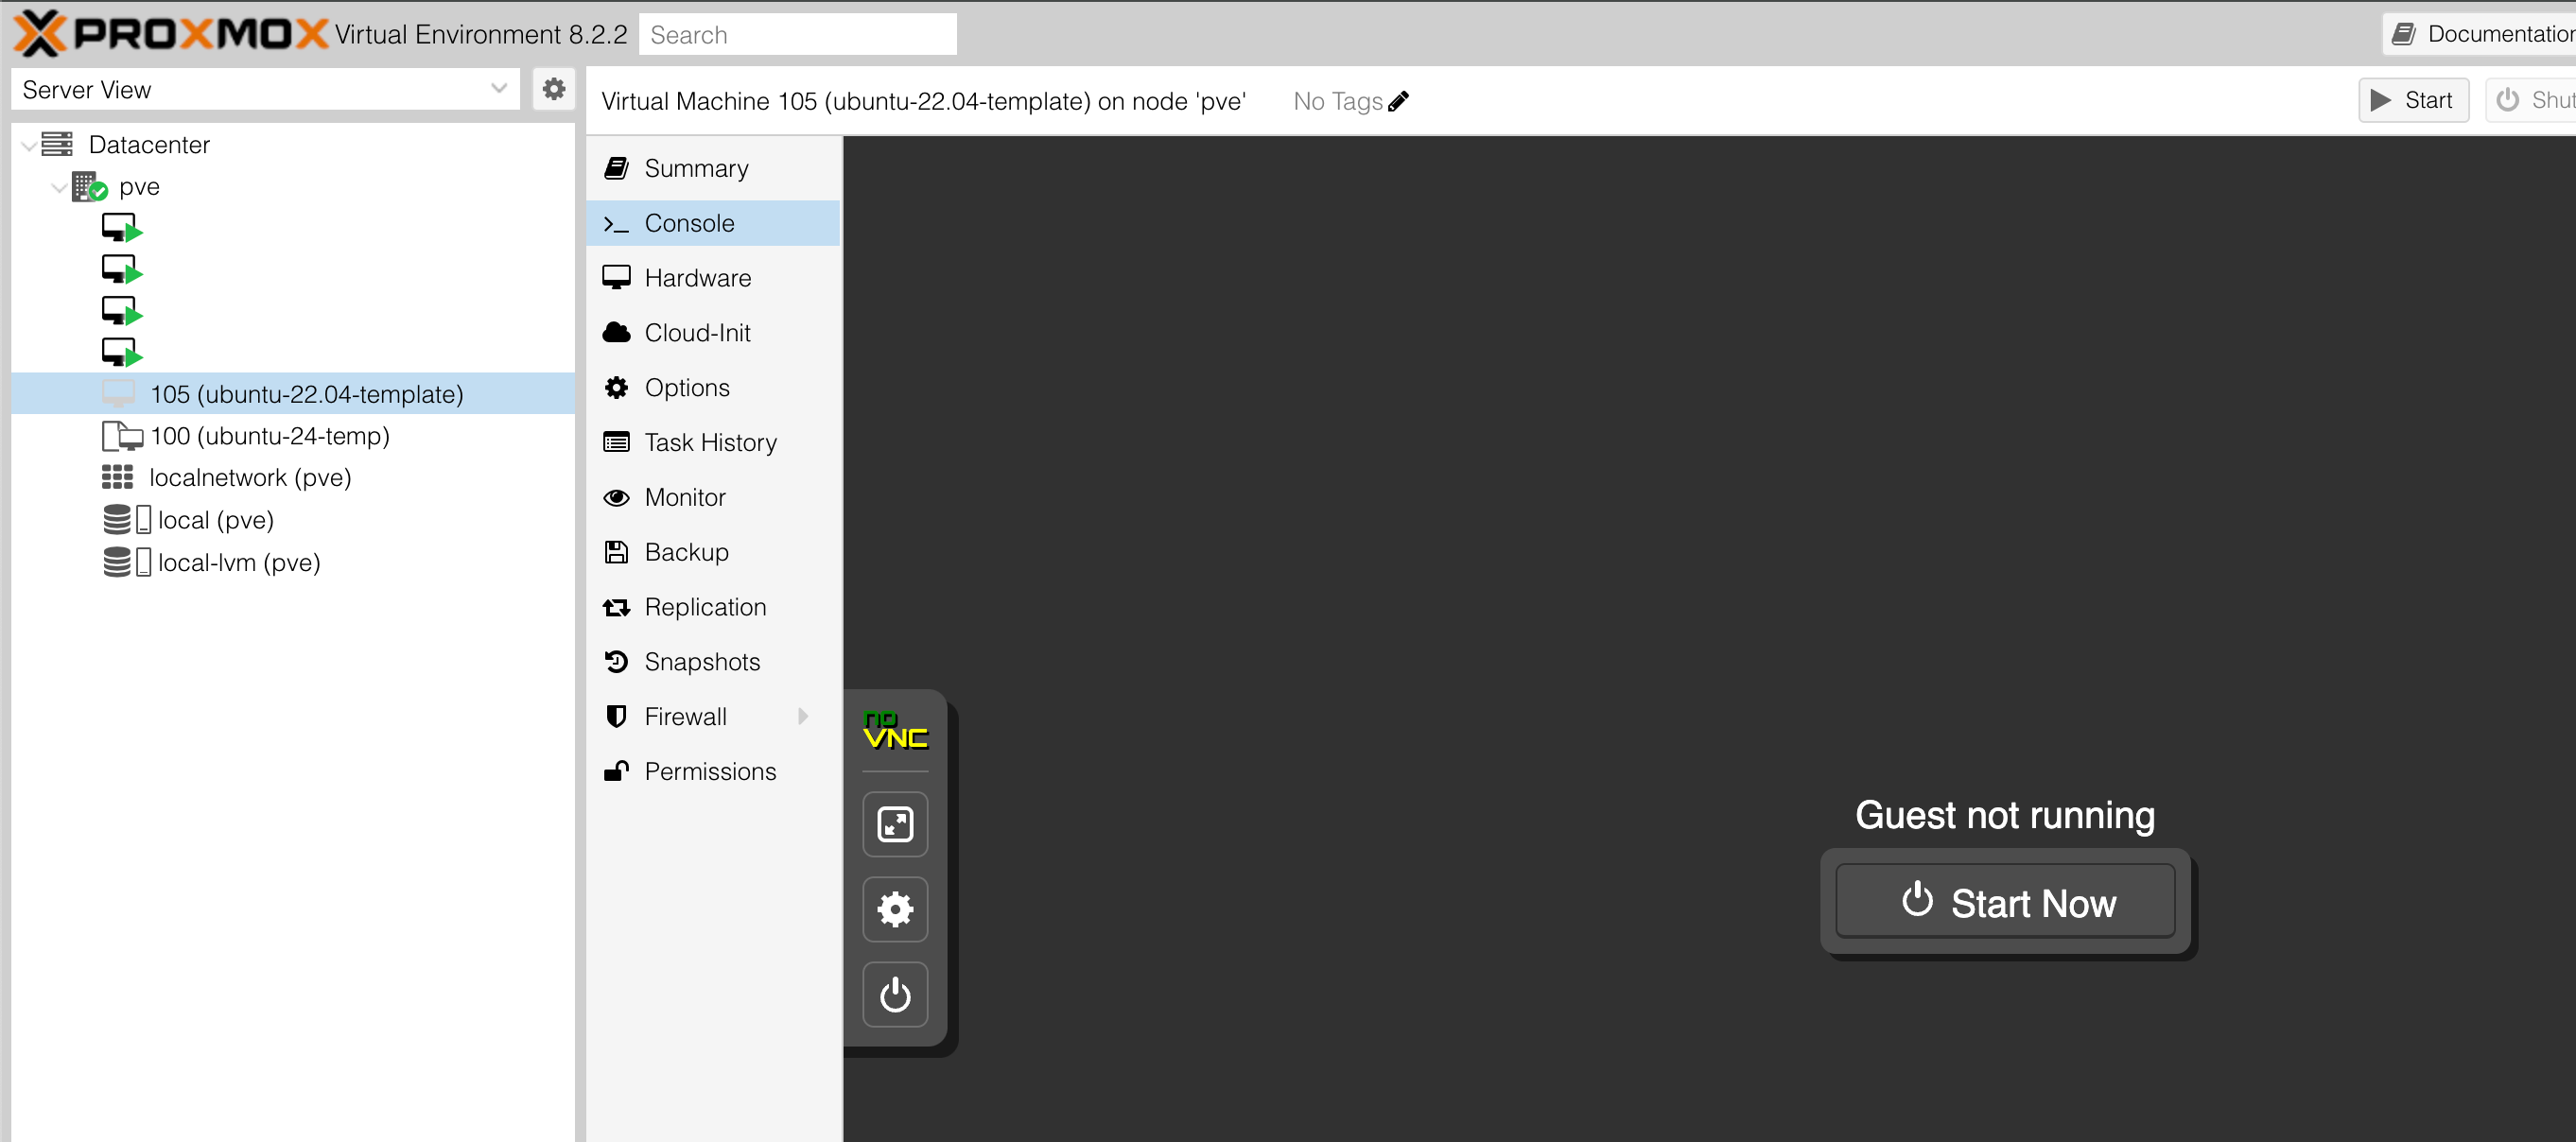
8. Tes Run VM
first step
- select console
- select button start now
9. Enable login with SSH Password
run command like in picture

save config and shutdown vm

run this command for shutdown vm
poweroff
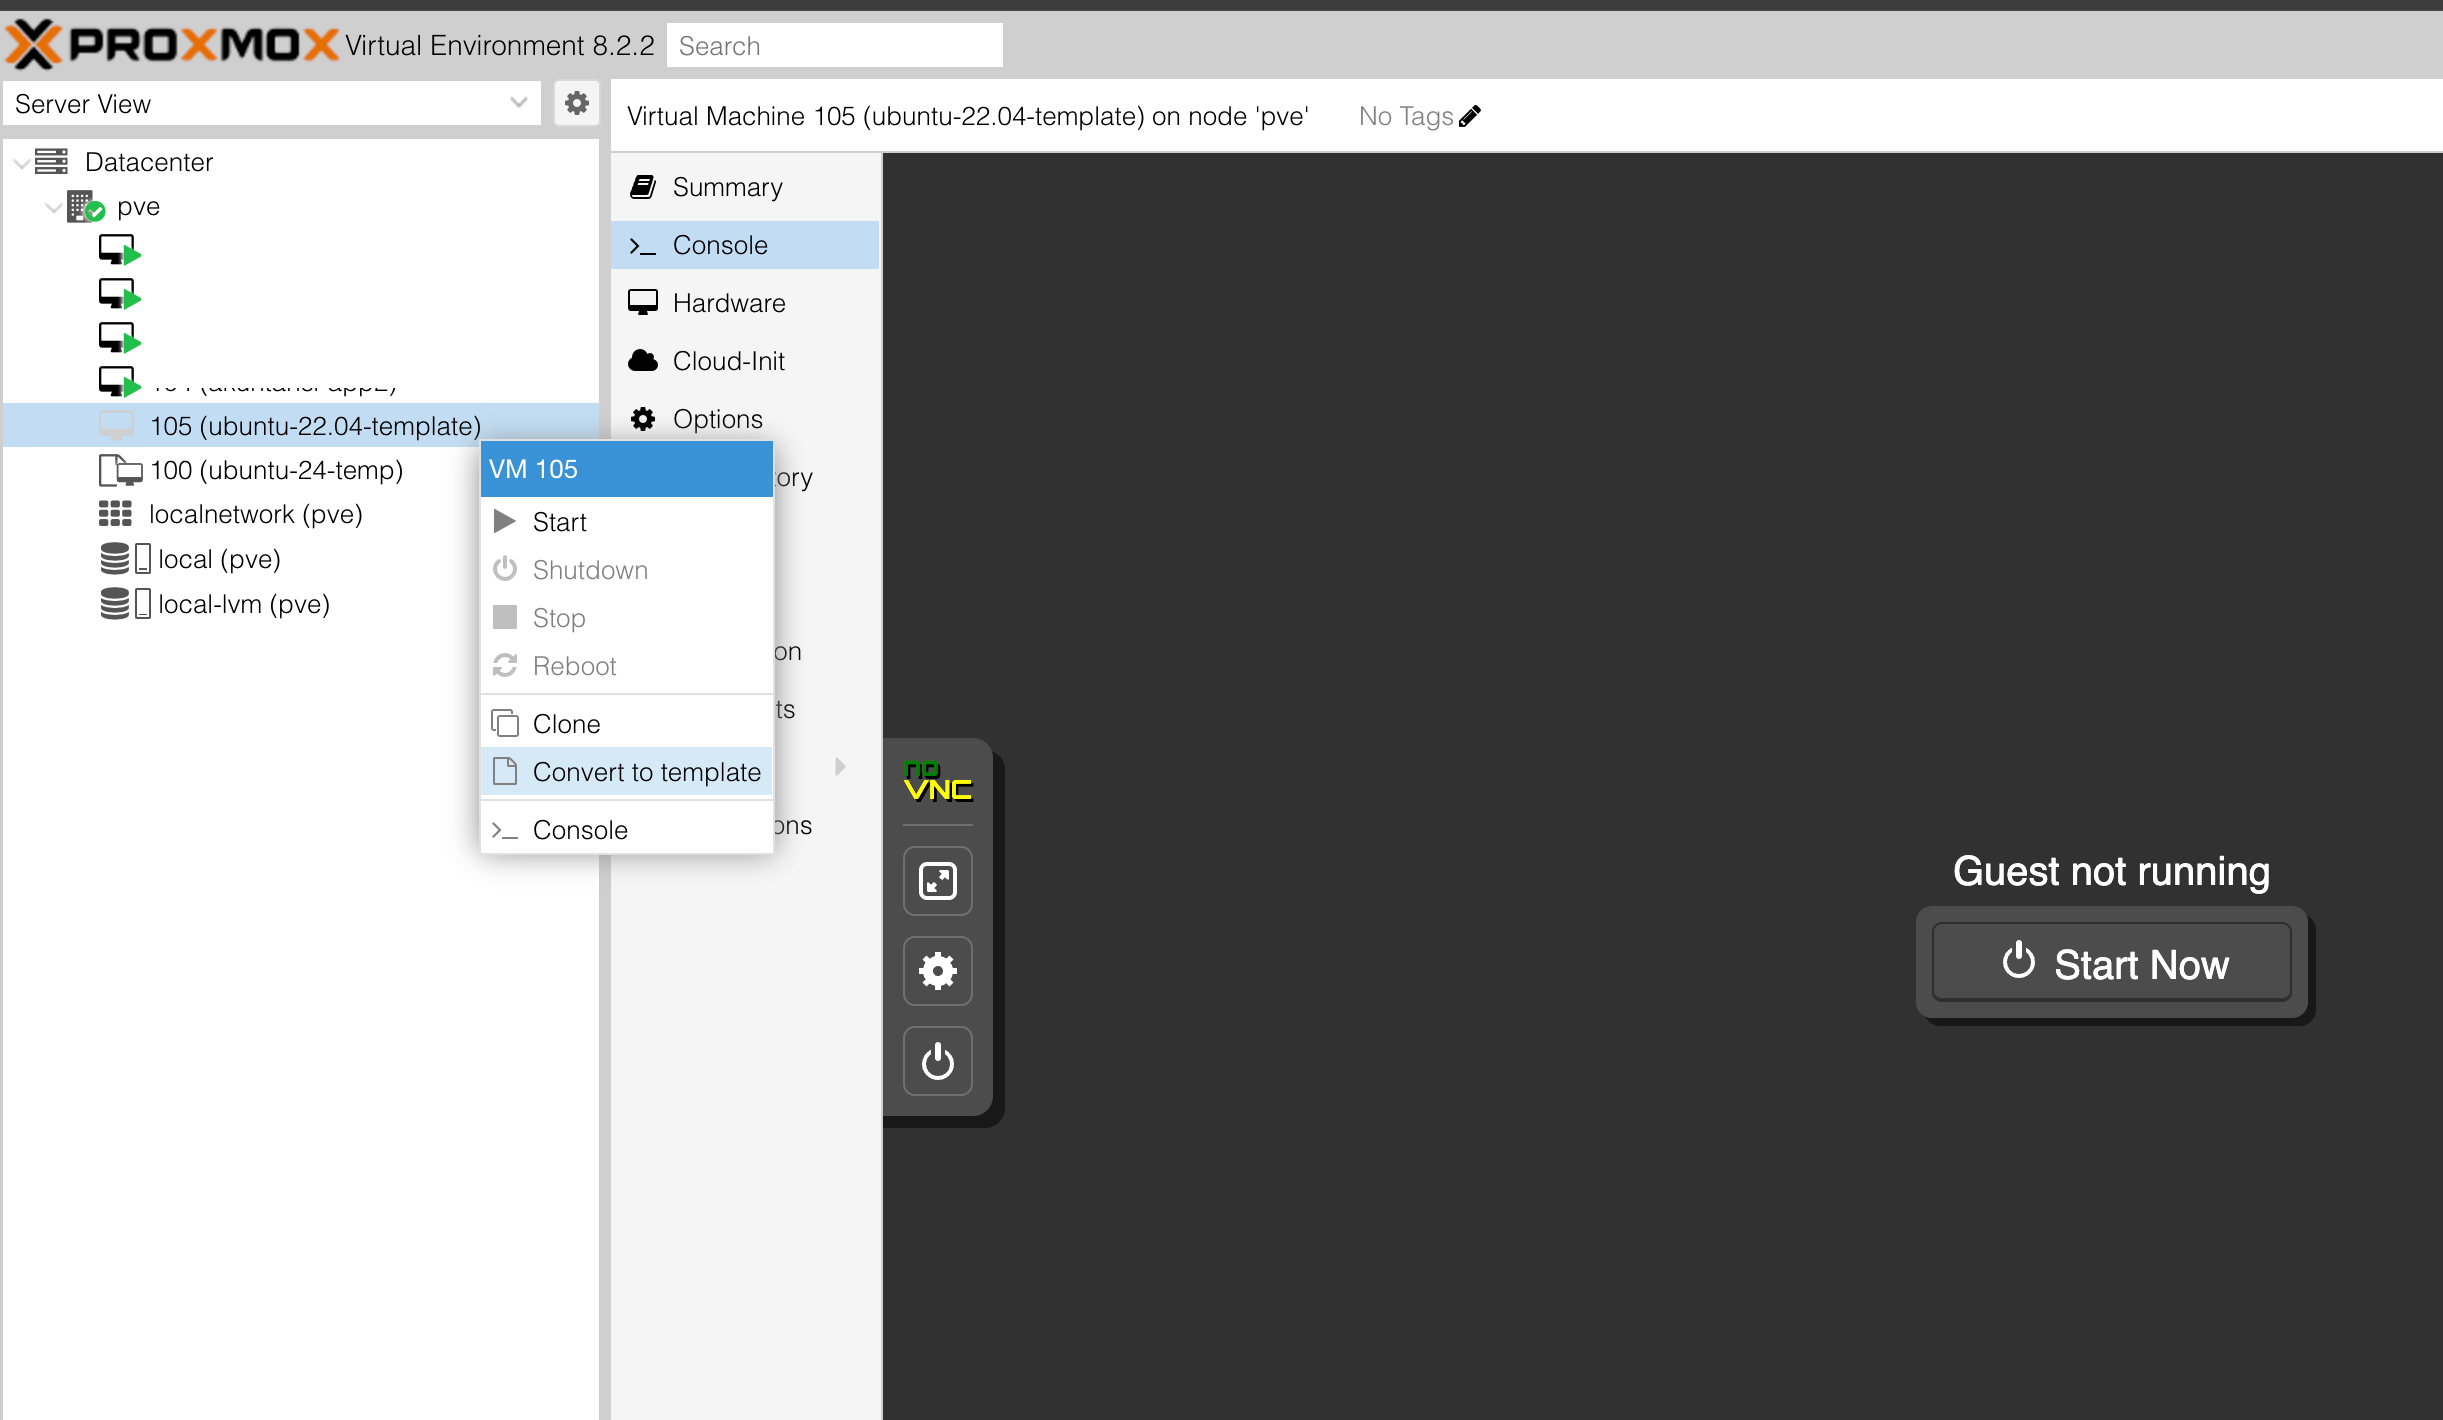
10. Convert VM to Template
first step
- select vm
- right click on vm
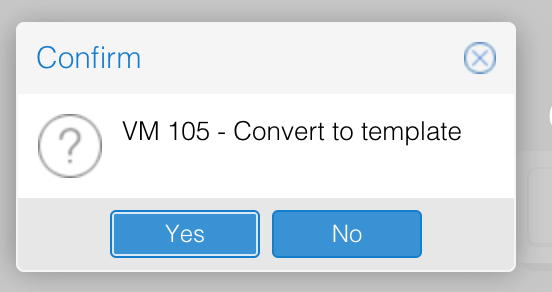
- select convert on template and dialog show like picture
- select button yes for process convert to template
- If the conversion is complete, the VM logo will change as shown in the picture.

finish, finally the custom iso configuration is complete, this way you can create a vm in just minutes. have you proven it ????
So that I can be more enthusiastic about writing, please treat me
![]()